It’s important to secure the Exchange Server with an SSL certificate. We have an SSL certificate that we like to import into Exchange Server. There are two ways to do that. One way is to install the certificate in Exchange Admin Center. The other way is to install the Exchange certificate with PowerShell. This article will import a certificate with PowerShell and Exchange Admin Center.
Do you have more than one Exchange Server running in the organization? You can use the same certificate for other Exchange Servers.
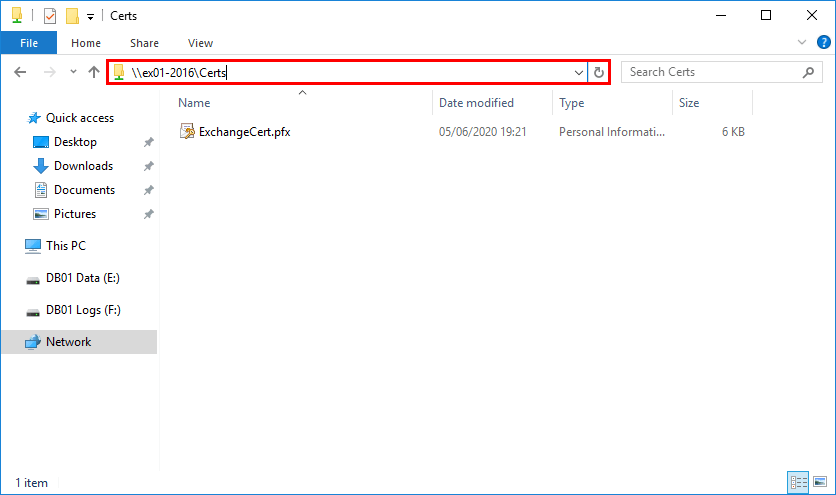
Create shared folder
Create a shared folder and place the SSL certificate in the folder. Make sure to assign permissions to the folder. For example, the SYSTEM account. If you don’t give permission, you cannot import the certificate, and an error will appear.
Import certificate in Exchange Server
Starting from Exchange Server 2016 CU23 and later and Exchange Server 2019 CU12 and later, the only option to import the Exchange certificate is with PowerShell (Exchange Management Shell
Note: To prevent misuse of UNC paths by attackers, Microsoft removed the parameters that take UNC paths as inputs from the Exchange Server PowerShell cmdlets and the Exchange Admin Center. These changes will affect all cumulative update (CU) releases of Microsoft Exchange Server 2019 (CU12 and later) and Microsoft Exchange Server 2016 (CU23 and later).
Import Exchange certificate with PowerShell
Run Exchange Management Shell as administrator. Next, run the below command to import the certificate.
Import Exchange Certificate in Exchange Admin Center
Suppose you have Exchange Server which is not running Exchange Server 2016 CU23 and later or Exchange Server 2019 CU12 and later, you can import the certificate in Exchange Admin Center.
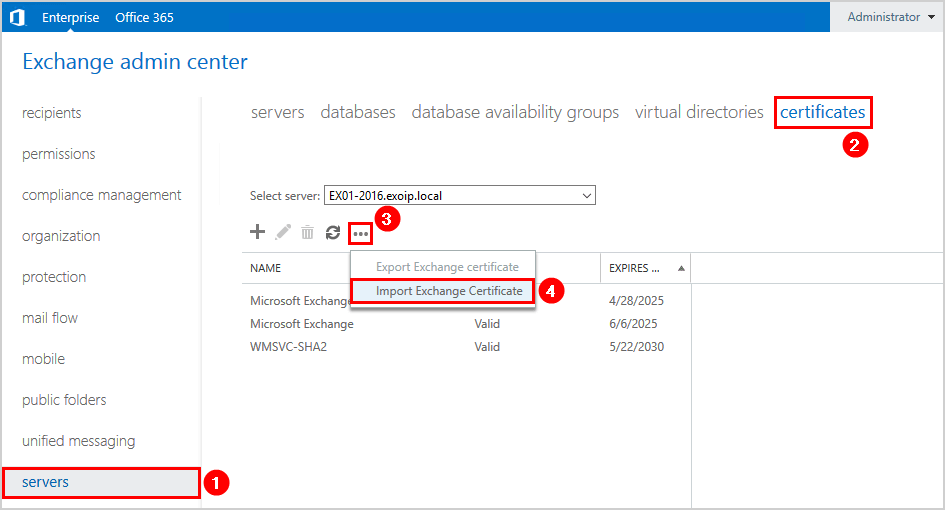
Sign in to Exchange Admin Center. Click servers in the feature pane and click certificates in the tabs. Click … (More options) and select Import Exchange Certificate.
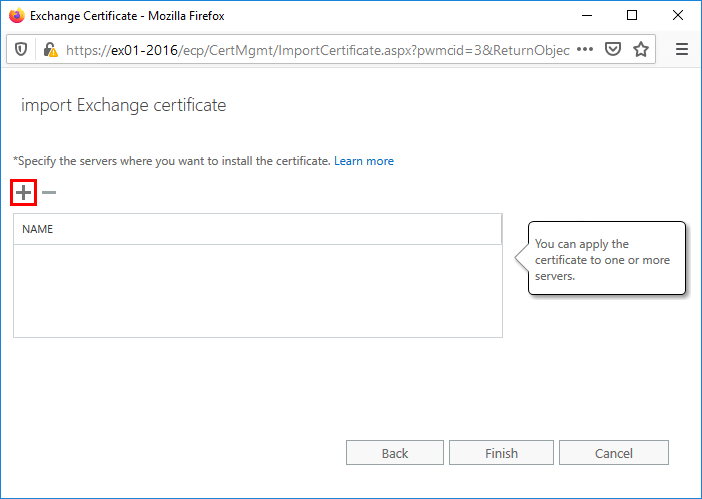
A new window will show up. Insert the path to the Exchange certificate. Fill in the password field. If there is no password configured for the certificate, you can leave it empty. Click Next
click + (Add) to select the Exchange Server.
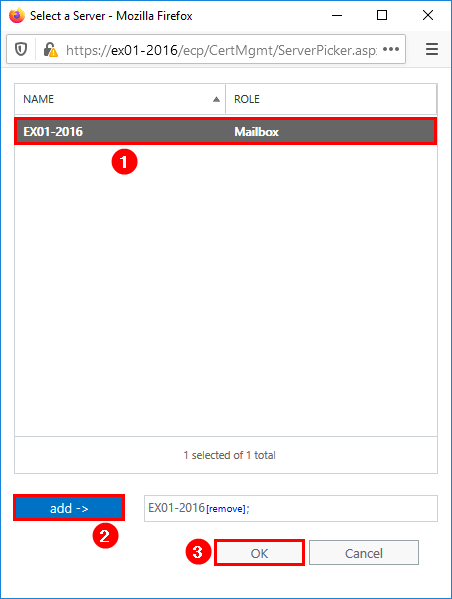
Select the Exchange Server. This is the server where the new certificate is going to be installed. Click Add and OK.
In my example, it’s EX01-2016.
Click Finish.

The certificate is imported into Exchange Server. The next step is to assign the certificate to the Exchange services.
Assign Exchange services to certificate
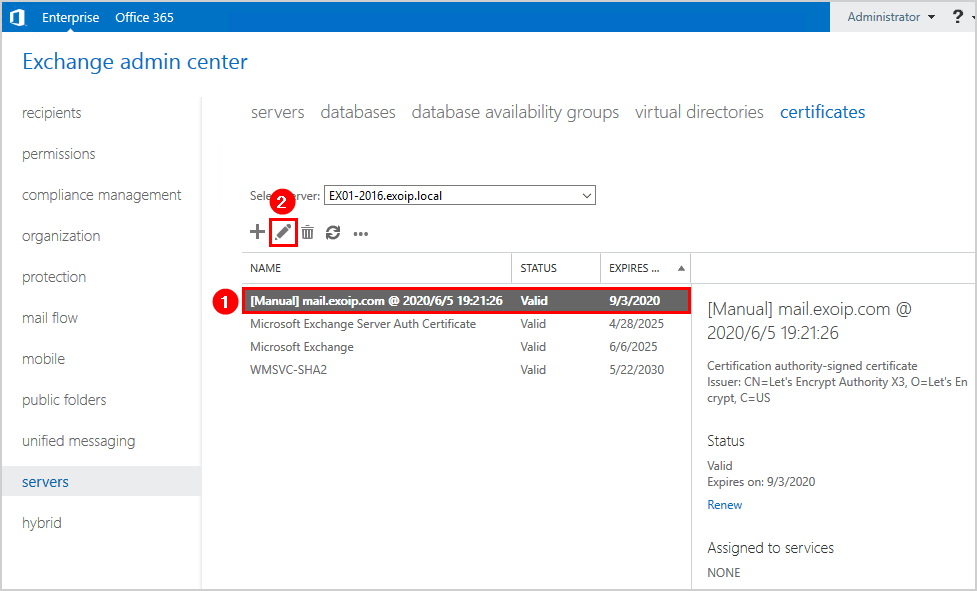
Click on the imported certificate and follow with the Edit icon.
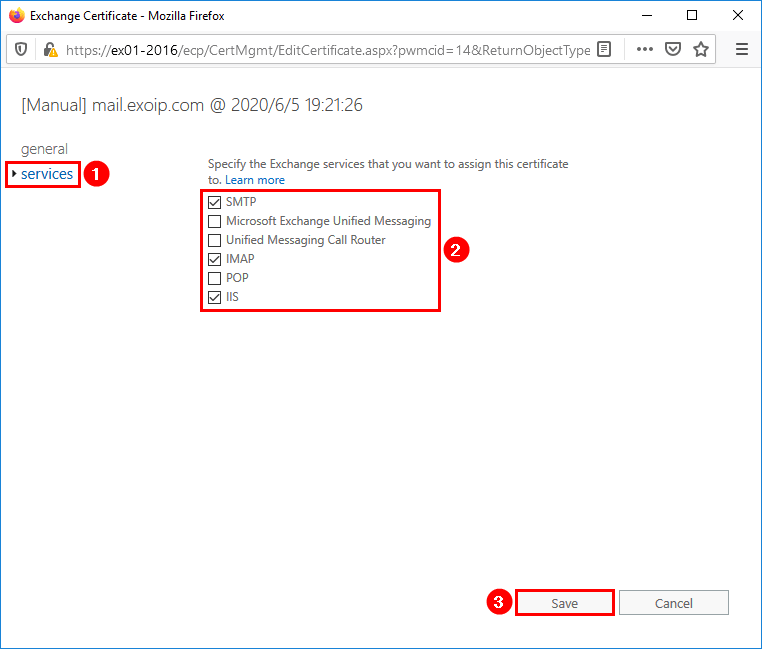
Click services in the left menu. Specify the Exchange services to assign this certificate to. Click Save.
In my example, the services SMTP, IMAP, and IIS are checked.
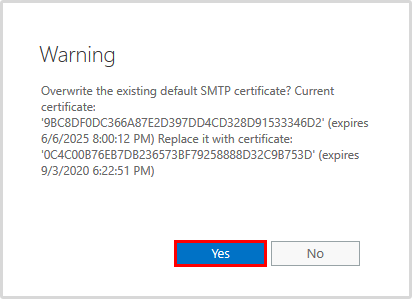
A warning appears if you want to overwrite the existing certificate. Click Yes.
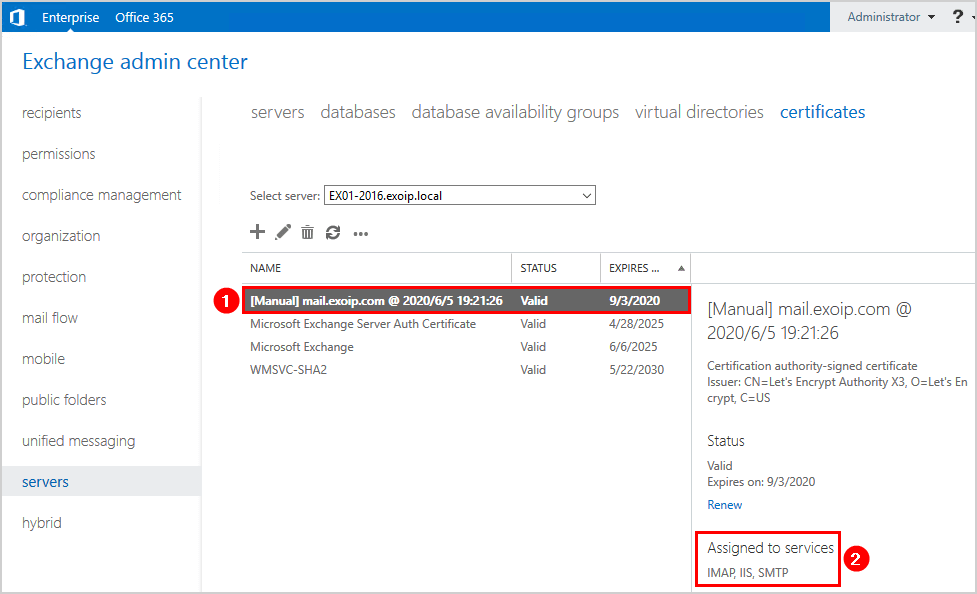
Click the certificate in the list view. See the assigned services in the details pane. It’s assigned to the services that we selected.
In the next step, we will check the secured SSL certificate on the Exchange Server.
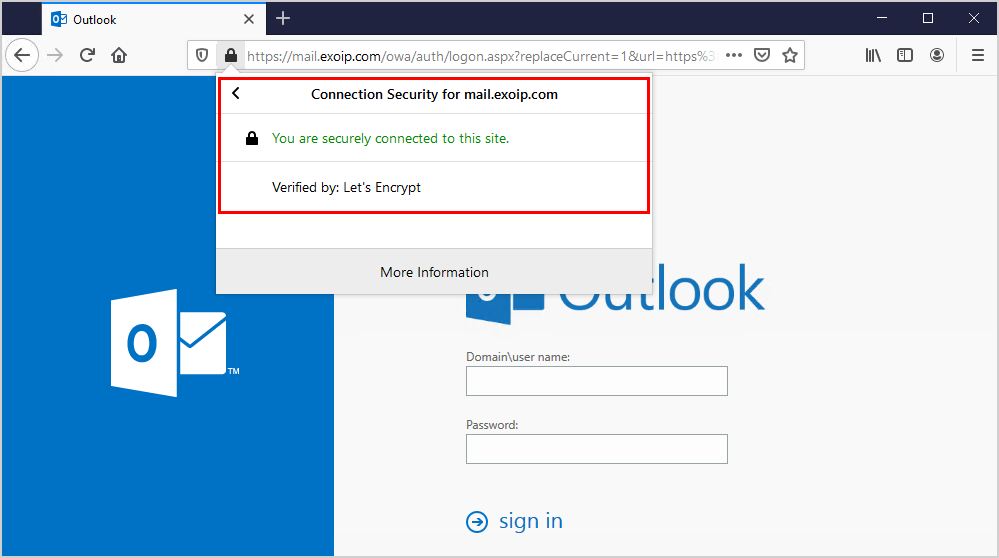
Test imported Exchange certificate
Go to Outlook Web Access (OWA) URL or Exchange Admin Center (EAC) URL. You can verify that the website is secure.
The certificate is successfully imported into Exchange Server. Did it help you to install the certificate in Exchange Server?
Conclusion
You learned how to import certificates in Exchange Server. Place the certificate in a shared folder before you start to import the certificate with PowerShell or with the import wizard in Exchange Admin Center.
Remember that in the latest Exchange Server versions, the import certificate functionality in Exchange Admin Center is removed and the only way to import the Exchange certificate is with PowerShell.
When the certificate is imported, you’re not done. That’s because the new certificate needs to be assigned to the Exchange services. After assigning the services, verify the certificate by browsing to the OWA URL in your favorite browser.
No comments:
Post a Comment