iSCSI is a powerful technology that may come in handy even for sharing a network volume to a bunch of users. While iSCSI was developed for much more complex operations, being able to connect a network volume to a client PC has its advantages over a network share.
Windows Server 2012 and 2012 R2 can “natively” manage iSCSI targets while older versions needed the installation a Microsoft package.
In this tutorial, we’ll see how to create an iSCSI target and how to connect a client PC to it.
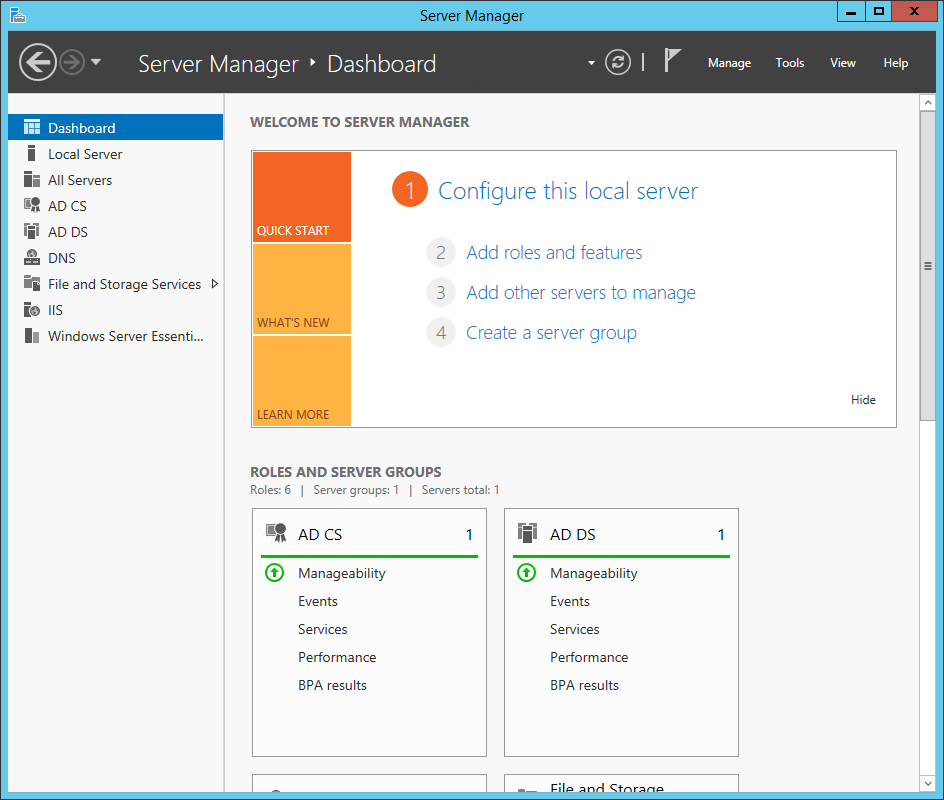
Open the Server Manager:
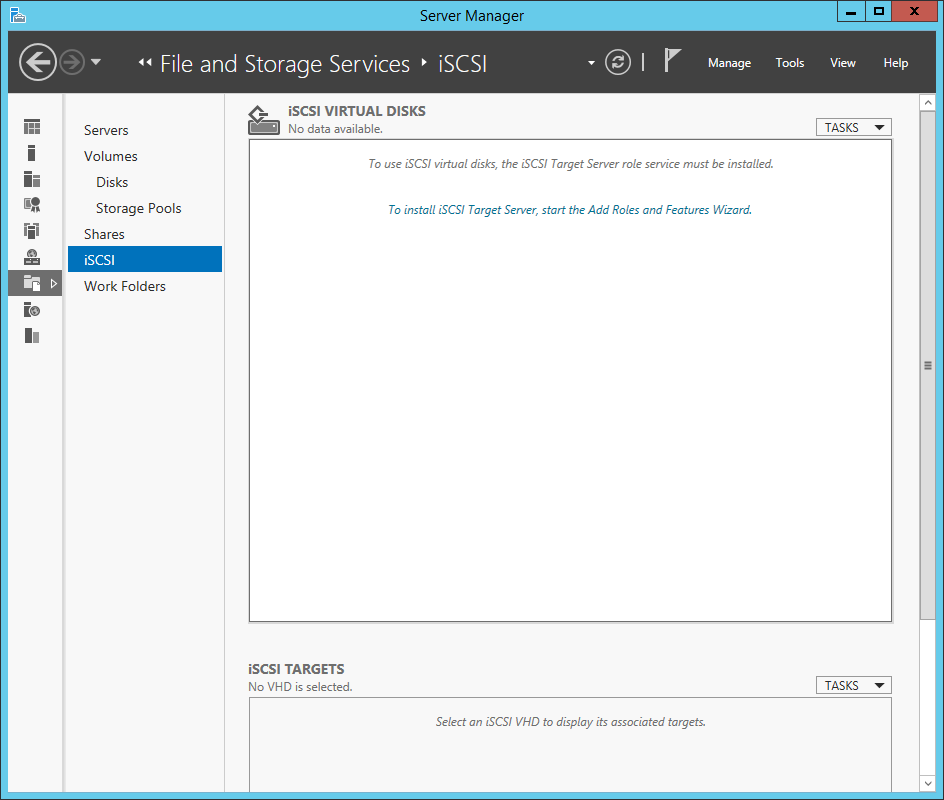
Click To install iSCSI Target Server, start the Add Roles and Features Wizard:
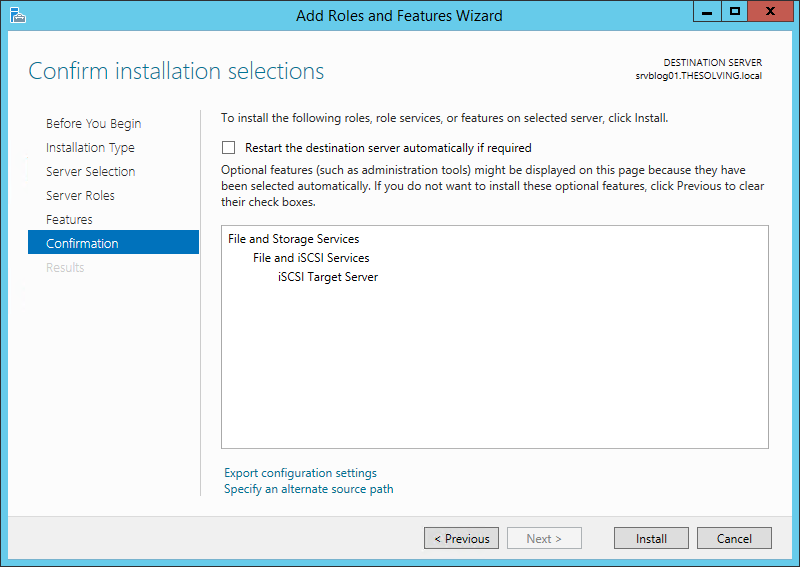
The Wizard will appear pre-configured with the Roles you need to install. Just click Next until the end:
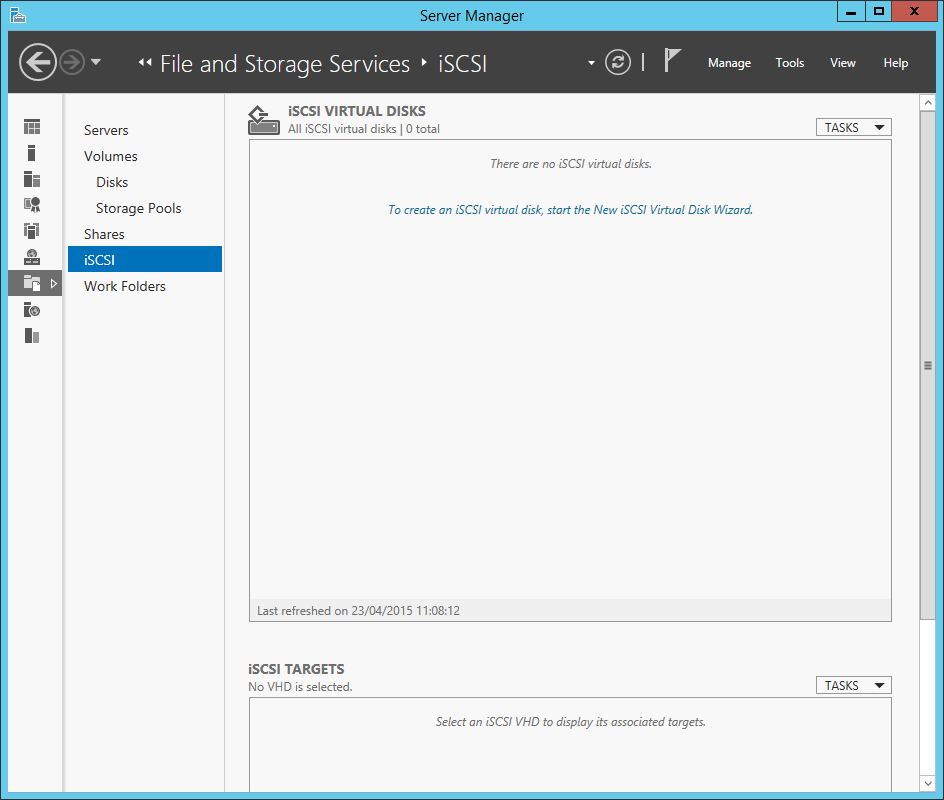
Now that the iSCSI Target Server has been installed you can configure a new target. Click To create an iSCSI virtual disk, start the New iSCSI Virtual Disk Wizard:
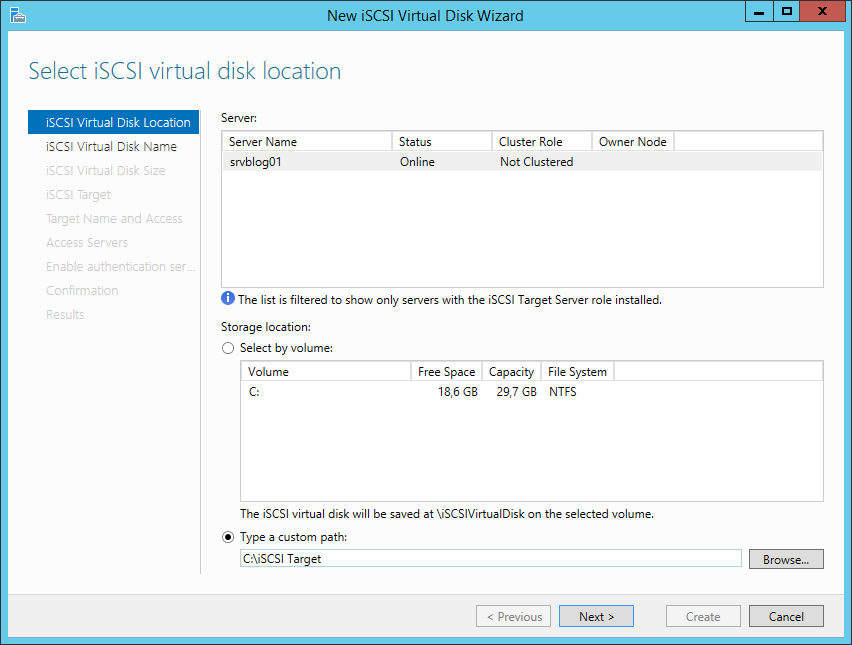
Select a volume or choose a path where the virtual disk will be saved:
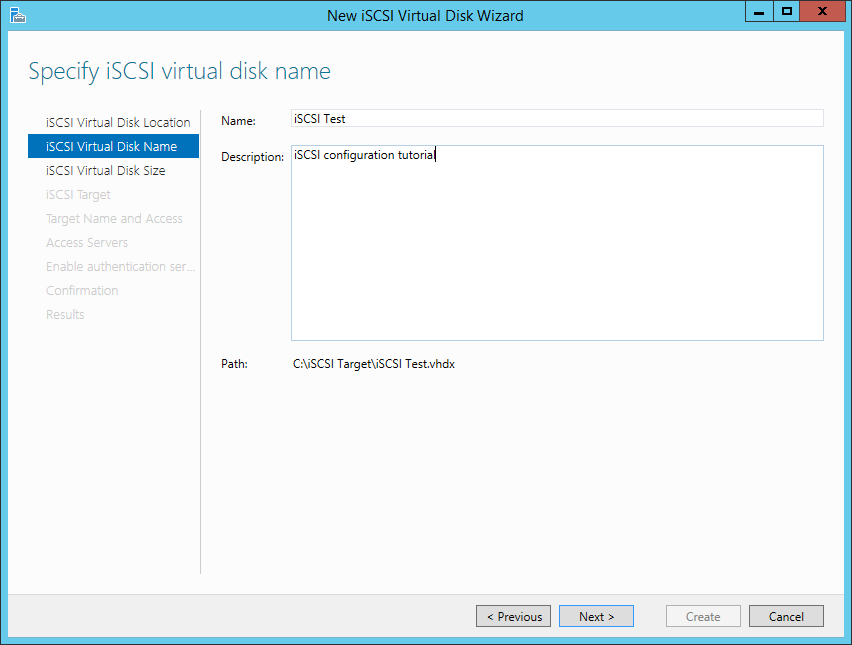
Give a name to the iSCSI virtual disk:
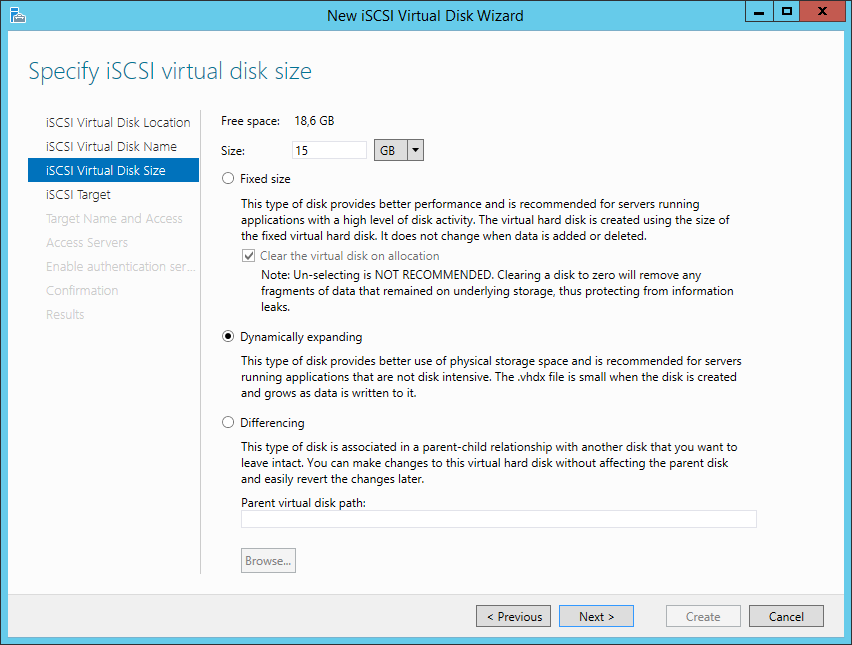
Choose the size and select Dynamically expanding:
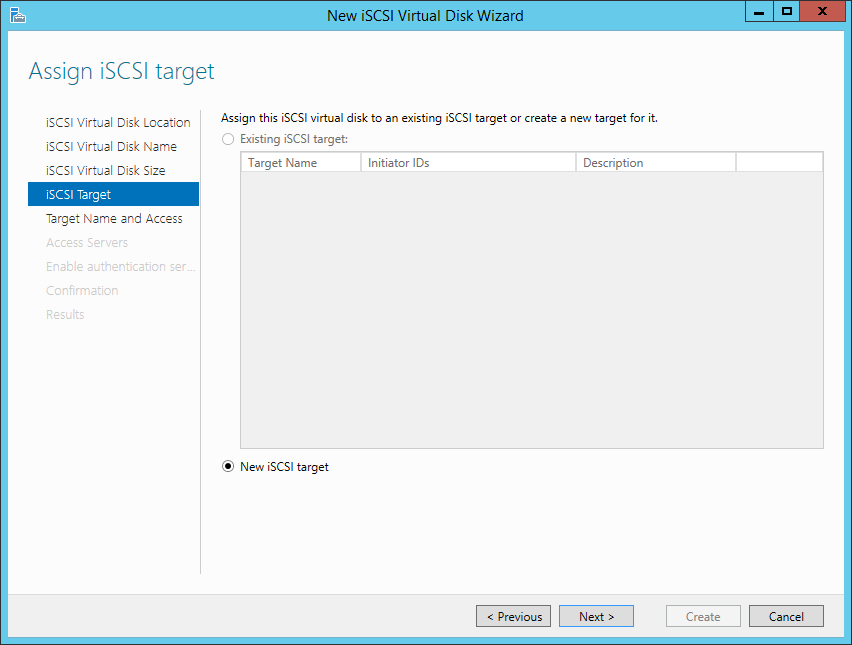
Select New iSCSI target:
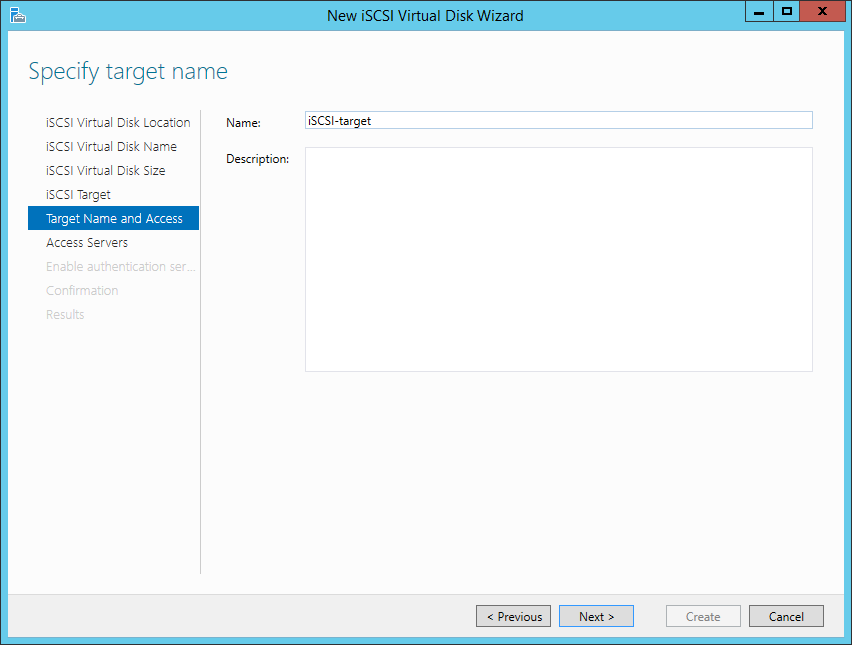
Give a name to the iSCSI target:
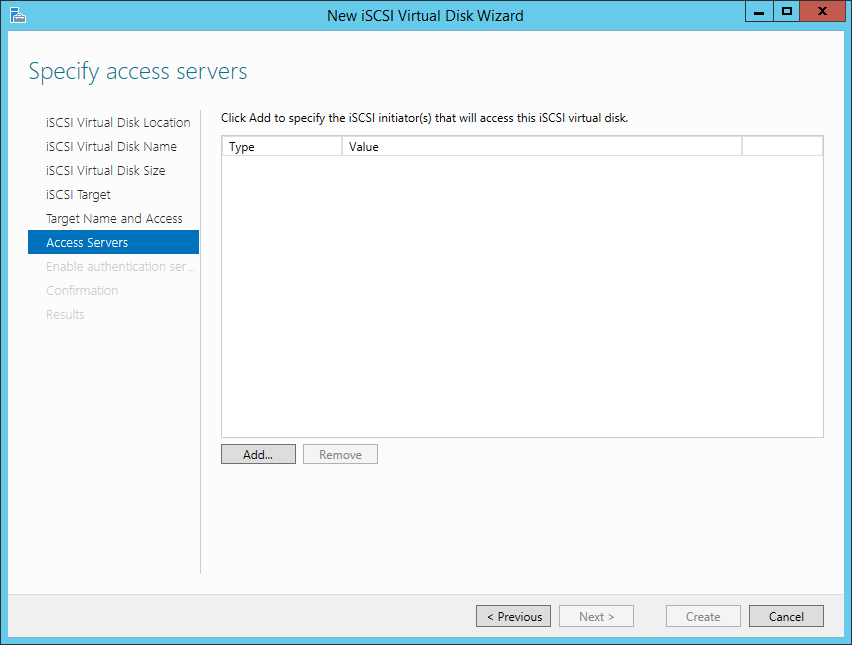
Clicking Add you will be able to specify (and restrict) the access to an Initiator:
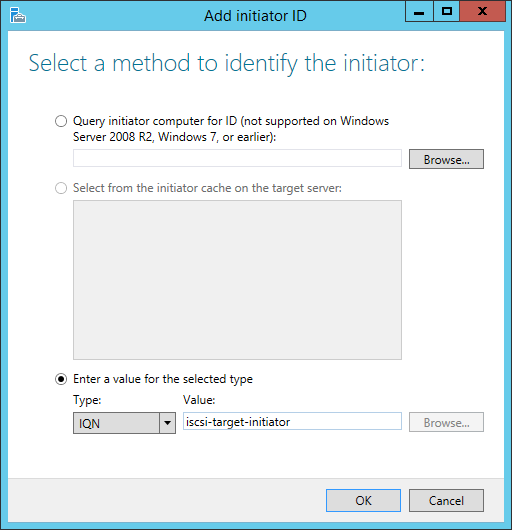
Choose IQN and give a name to the Initiator:
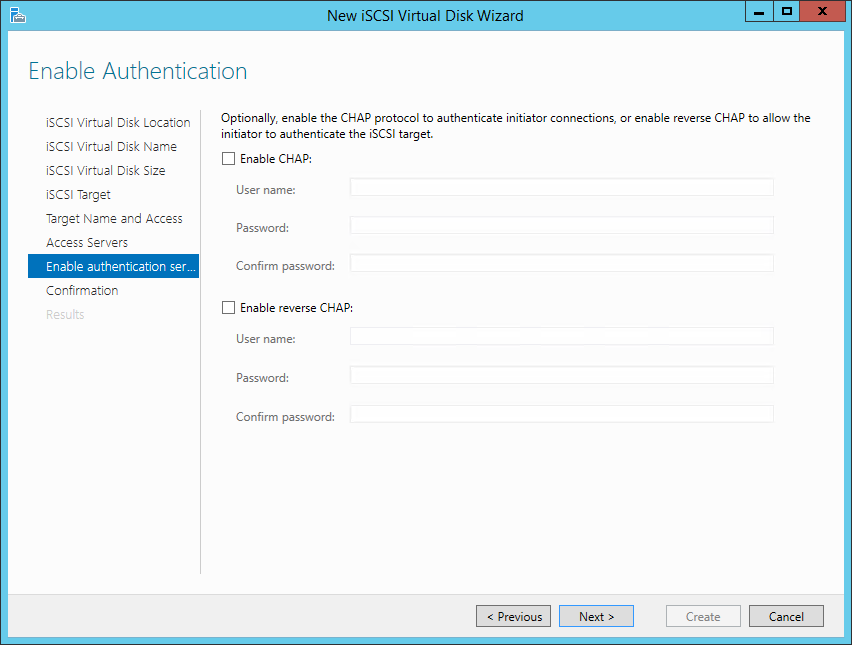
You can add further security with the CHAP authentication. We choose to skip this step:
Click Create:
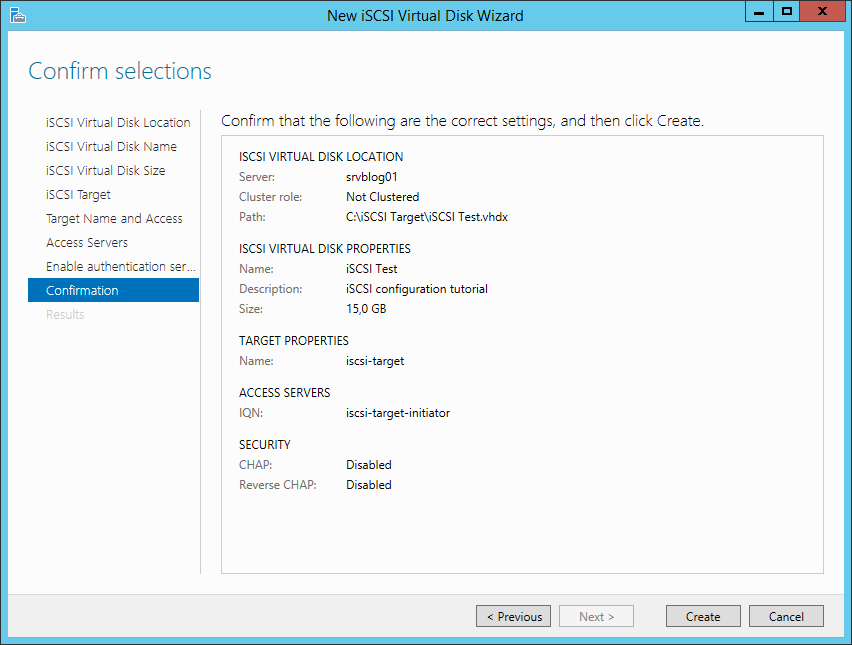
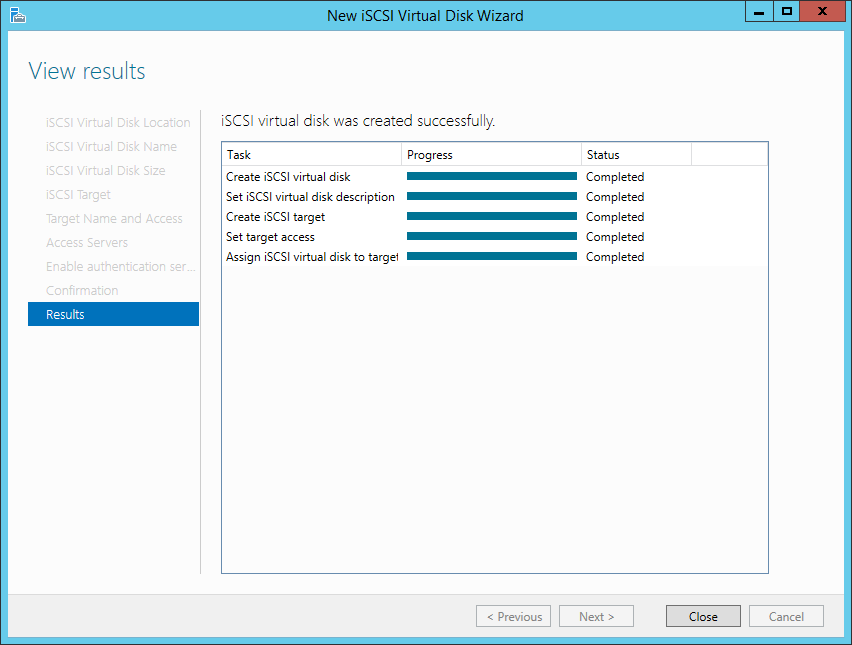
Target created!
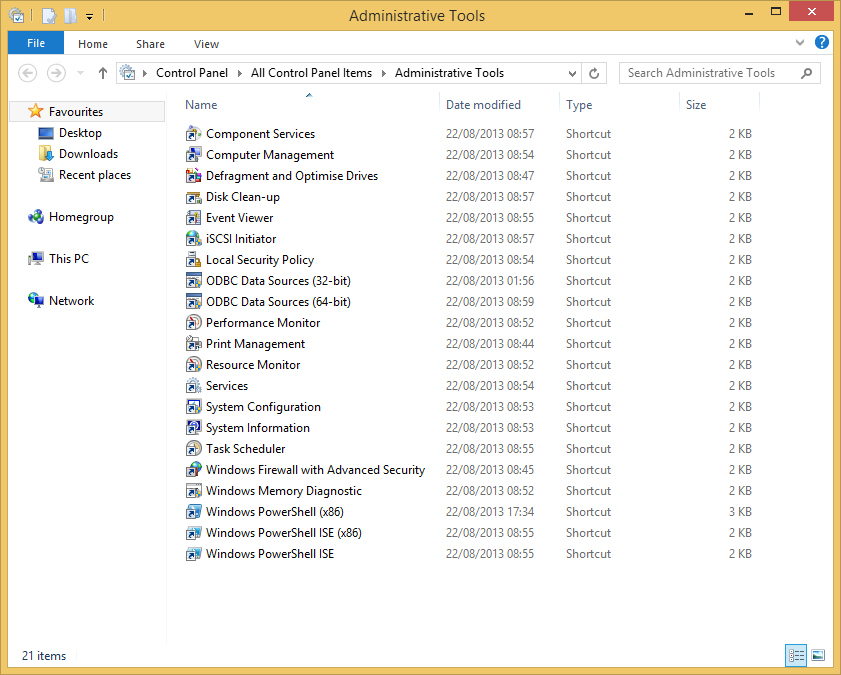
Now it’s time to connect a client PC to the iSCSI target. Open the control panel of the client machine and select Administrative Tools. Launch the iSCSI Initiator:
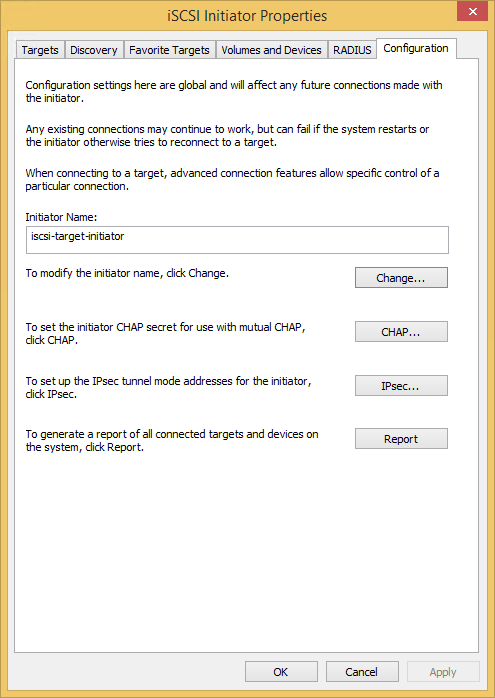
Go to the Configuration tab and specify the initiator name (use the same you configured for the target):
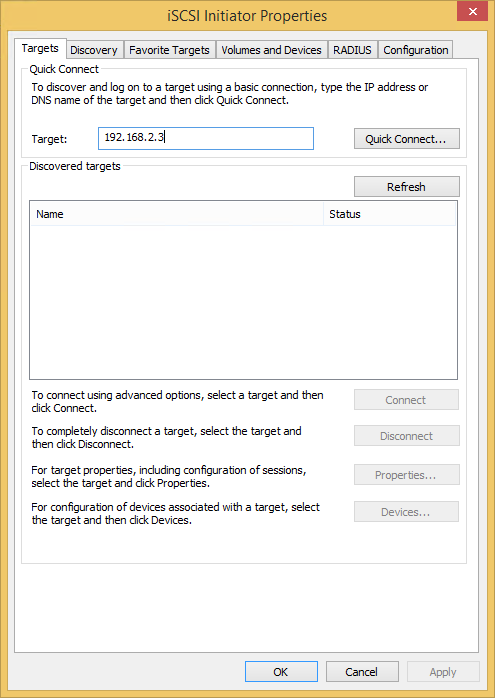
Go to the Targets tab and specify the IP of the Target Server, then click Quick Connect:
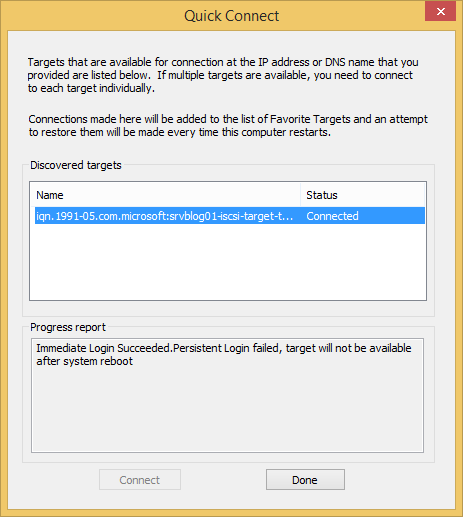
Connection completed:
You’ll find a new volume in the Disk Management panel of the client PC. You can format it and manage like you desire.
No comments:
Post a Comment