In Windows Server 2008 R2, admins have had to use at least four different MMCs to manage a Remote Desktop Environment. These include the following:
- Remote Desktop Services Manager (tsadmin)
- Remote Desktop Services Configuration (tsconfig)
- Remote Desktop Connection Manager (sbmgr)
- RemoteApp Manager (remoteprograms)
In Windows Server 2012, a single interface, Remote Desktop Management Server (RDMS), replaces all above snap-ins and provides centralized management of the Remote Desktop infrastructure. RDMS is a plug-in to the new Server Manager in Windows Server 2012.
Additionally, Windows Server 2012 includes a new installation type, “Remote Desktop Services installation”. This new installation type makes deploying and managing your RDS infrastructure much simpler. Connection Broker is a critical role in an RDS infrastructure that is installed when using the new type. The RDMS service is also installed on the Connection Broker when the new method is used. The RDMS service is the engine behind the new UI and cannot be installed using the classic “Role-based or feature-based installation” type.
Important: You should use the new RDS installation method, even in the case of a single Remote Desktop Session Host. This is because RDS deployments can now only be managed through RDMS or via Windows PowerShell. Standalone RDS implementations are possible, but they must be managed exclusively using Powershell.
We will not walk you through the installation process here, but it is pretty straightforward:
- Add the servers to which you want to deploy the RDS roles to All Servers group or a new server group.
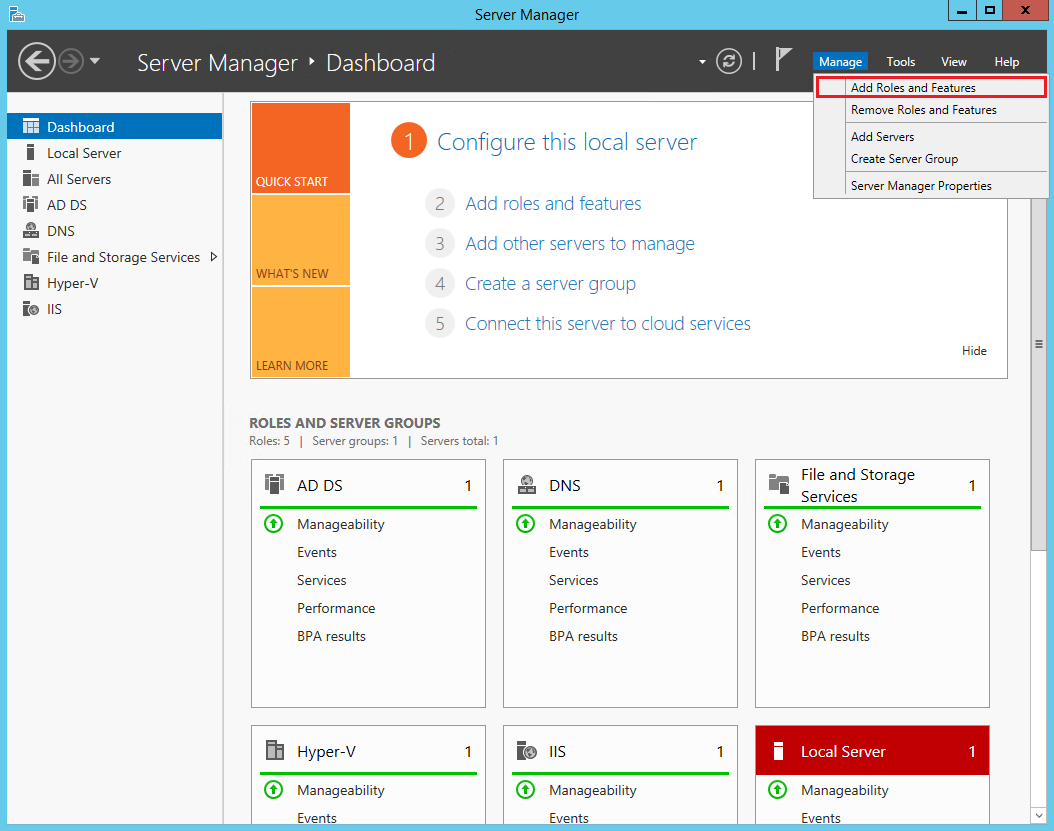
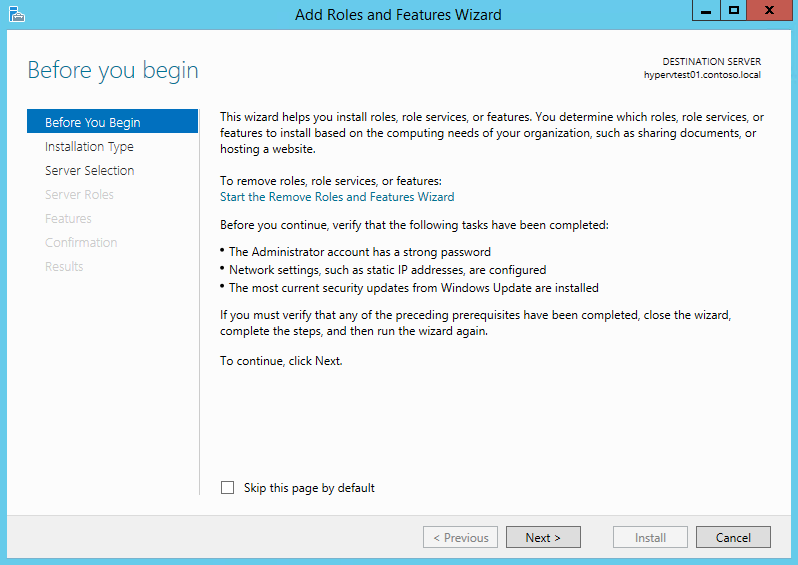
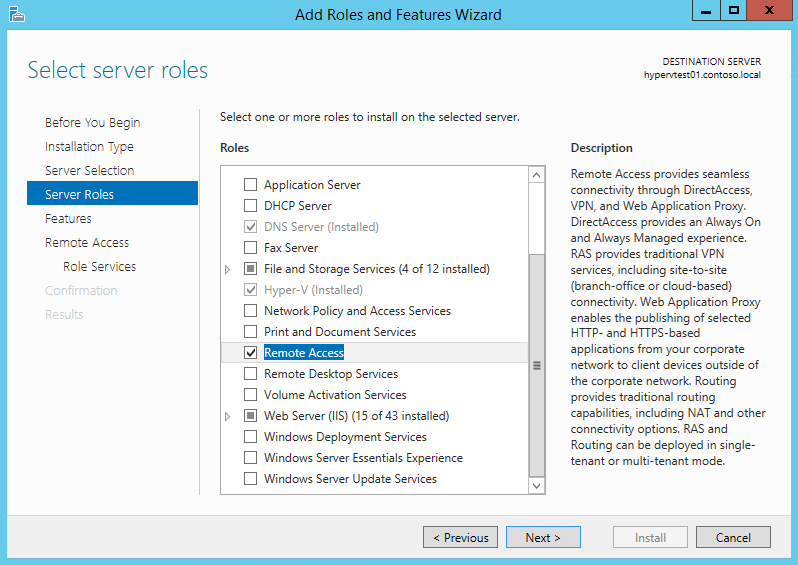
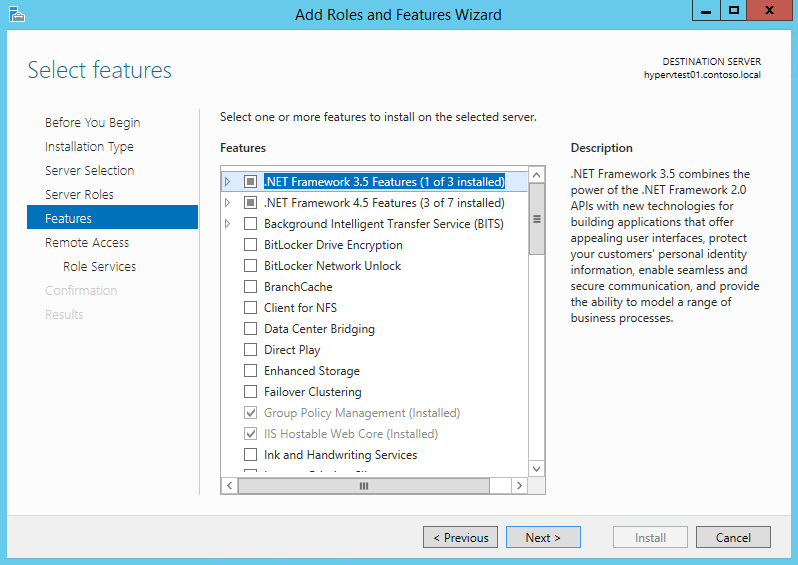
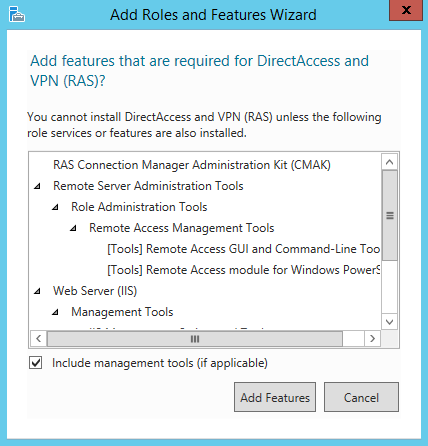
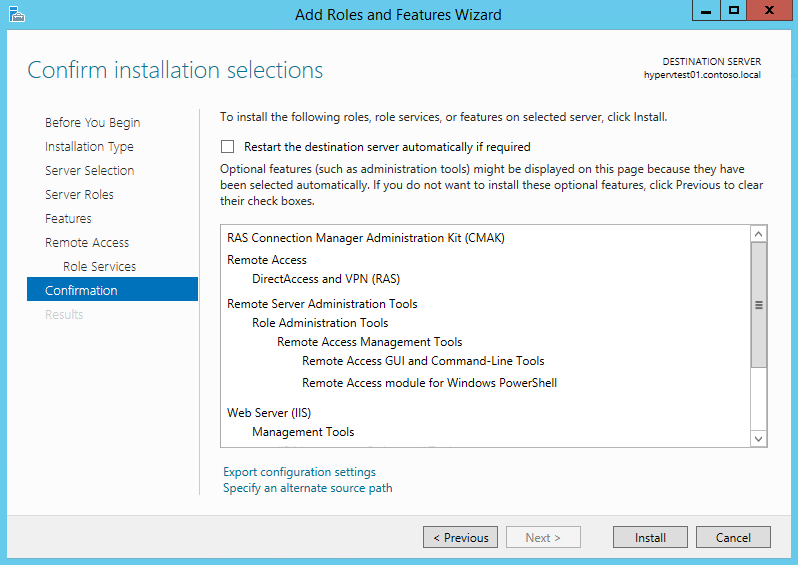
- Select that group in the navigation pane and run the Add Roles and Features Wizard.
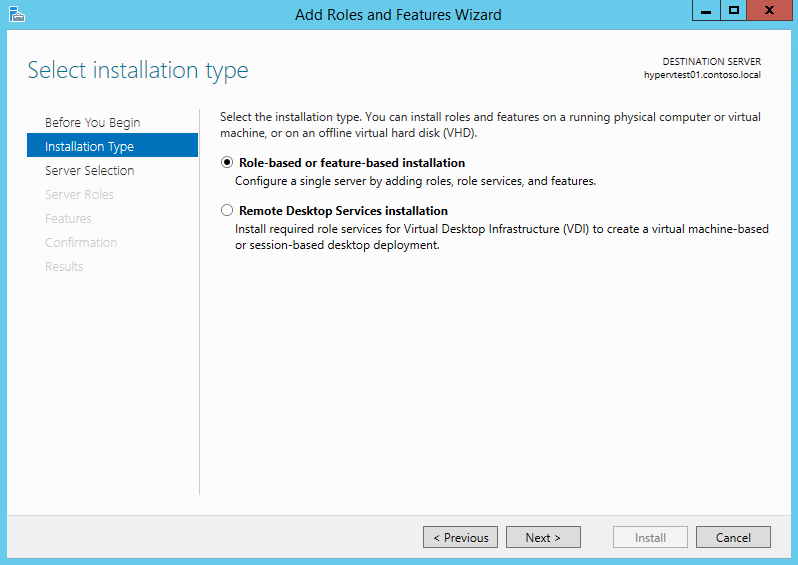
- Choose the installation type “Remote Desktop Services installation”.
- Select “Standard Deployment” (Quick Deployment is used to quickly deploy all of the needed roles to a single server and then create a very simple collection. To have more control, we recommend using Standard Deployment).
- Choose “Virtual Machine based deployment” or ” Session-based desktop deployment”.
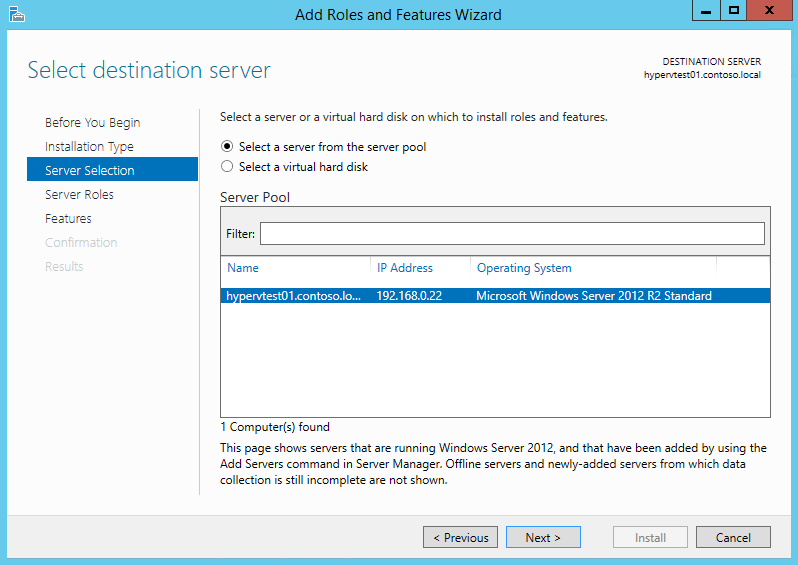
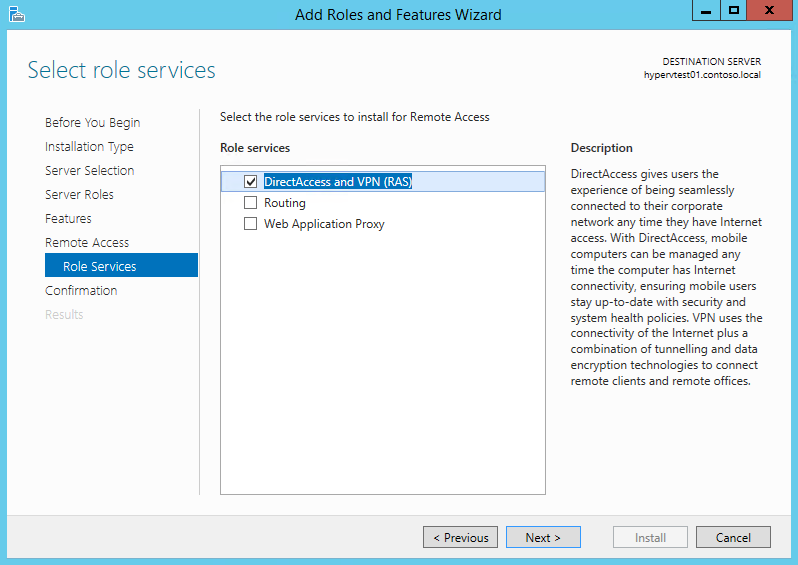
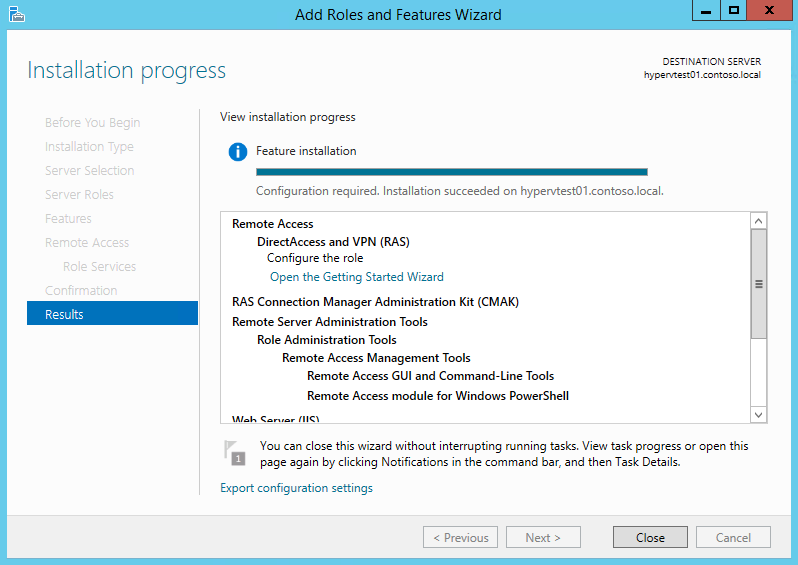
- The wizard will ask you which server you want each role installed to and will perform the installations and restart the servers as needed.
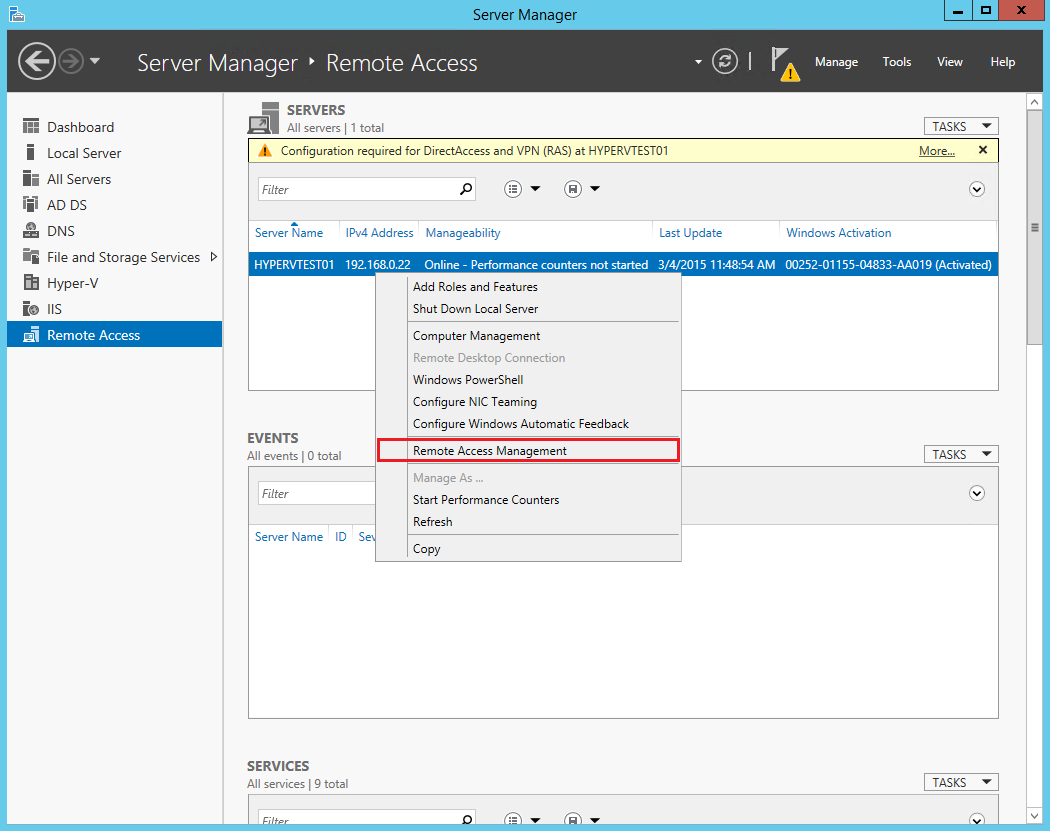
After installing the RD Connection Broker role and the RDMS service using the new “Remote Desktop Services installation” type of installation, the RDMS UI can be accessed from Server Manager by choosing “Remote Desktop Services” in the navigation pane.

When you select Remote Desktop Services, there are three options in the middle pane:
- Overview
- Servers
- Collections
Let’s look at all three of them one by one.
OVERVIEW:

Once the RDS Roles are installed on the Session Host servers and RD web access servers, we see the graphical description of our environment, the roles installed on each of the servers and the FQDN names of each server on the Overview page:

From this page additional servers can be added to the deployment and additional roles can be installed using the Deployment overview/Deployment Servers right-click options. The Gateway and RD Licensing options are reflecting in Green as these roles are not yet installed but can be installed by clicking the Green Plus sign.


In order to add certificates, configure licenses and RD gateway settings we can “Edit Deployment Properties”. Instead of touching every host that’s part of an RDS deployment, the RDMS server accepts a certificate and pushes it to each of the hosts for you.


SERVERS:
The “Servers” page enables us to manage all of the servers belonging to the RDS Environment:

A variety of remote management tasks can be performed including adding roles and features.
COLLECTIONS:
Collection is a logical grouping of Remote Desktop Servers that provides either session-based or virtual machine-based (VDI) deployments.
Note Each Session host that’s a member of an RDS collection is limited to only participating in one collection.


In this example we’ve named the RDS Collection “RemoteApp”. On the Collections Page we can see the number of connections, the connection states, which users have remote sessions and the servers on which the sessions are established:

If no Remote Apps are created for the collection, then on the RDWeb page users will see the icon with the name of our collection to take a full RDS session to the session host servers:

There is no separate Remote APP Manager snap-in to publish or modify remote app settings. In Server 2012 we use the “Publish RemoteApp Programs” on the Collection Page to publish the remote apps.

To modify Remote App programs, there is an “Edit Properties” option under Tasks. We can also right-click to reach this same Edit Propertiesoption. On the User Assignment screen admins can now create a folder in which the Remote Apps will be saved. Prior to Server 2012, in large environments user would see all the remote apps listed on the main RDweb Page. However, with the folder creation option, admins have the option to segregate the remote apps based on different criteria.


Here we have created two folders to differentiate between the Admin Apps (Server Manager) and User Remote Apps (Calculator).


Note After publishing Remote Apps, users no longer see the full desktop icon for RemoteApp (the name of the collection). In Server 2008, users could see the remote apps as well the “remote desktop Icon” on the RDweb page if we checked the option “Show a remote Desktop connection to the RD session host server in RD web access” in the Remote App Manager.
In order to create a full desktop session to a server that is part of a collection that has RemoteApps published from the RDweb page, there are two options.
- Use the tab “connect to remote PC”
- Publish “Remote Desktop Connection” as a remote app

Configuring load balancing weight, security, encryption levels, Client settings and session limits can all be done from the Edit Collection Properties page.


RDMS is one-stop centralized management for RDS environments and is sure to help ease the administrative overhead by simplifying both the rollout and configuration of Remote Desktop Services for everyone.